
Temperature Quilt Along 2020
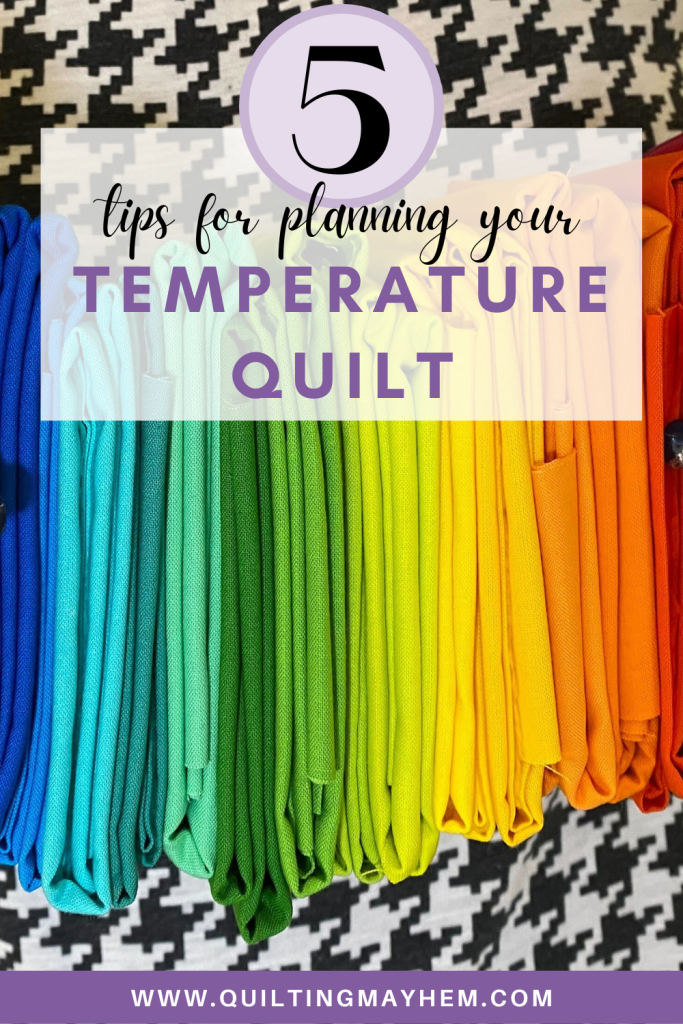
So, what is a temperature quilt?
A temperature quilt is made up of either 365 or 366 blocks, one for every day of the year, using fabrics that correlate to the temperature in your area each day. You can start with the new year on January 1st or go back to a previous year and look up temperatures. Here are our top five tips for planning your temperature quilt.
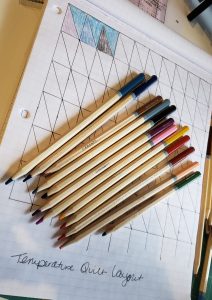
Tip 1: Create a reference sheet for your fabrics.
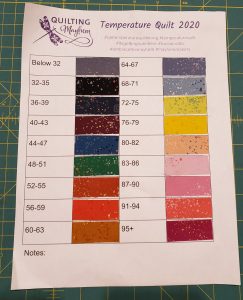
Print out a chart to which you can add small fabric swatches to keep track of what colors to use in your daily quilt block. You can make your own, but we’ve created a color chart here for you based on the temperatures best known for the Pacific Northwest and a fabric range of eighteen colors. Arrange the swatches on your chart how you like them and stick them down with a bit of tape or a glue stick.
If you want to use a different number of fabric colors, change the number of degrees assigned to each fabric color. For example, our chart uses a step of three degrees to represent each fabric. You could make the temperature step two degrees to use more fabrics or five degrees to use fewer fabrics.
Note: We rarely see over 90 degrees at Quilting Mayhem and more often than not don’t see under 32 degrees. If the temperatures in your area go higher or lower, make sure to make more increments!
Tip 2: Don’t feel that you have to follow the thermometer scale or rainbow order.
Play around with your palette. There is no temperature quilt rule that says you have to follow the same color to temperature representation as the Weather Channel with blue for cold and red for hot. Although we have had some customers start picking fabrics and they are adding in a designated snow fabric to represent snow days. Our snow days seem so few and far between at Quilting Mayhem that it will be a fun little sparkle added to the quilt.
Remember, if you need help, please come see us in the store, we love to help you play with fabric! Nothing makes our day more exciting than getting to plan quilts and helping people put together their projects.

Tip 3: Select fabrics that you can get more of.
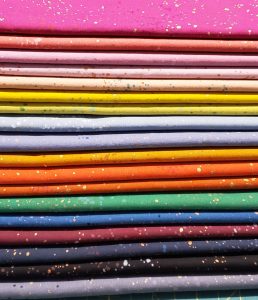
The amount of fabric you’ll need will depend on the block you pick and the weather, and we only know one of those things at the beginning! We started our quilts with one yard cuts of each of my fabrics. We recommend a yard and a half of the temperatures you think are more common for your area, especially if you are doing blocks with several seams. But the best plan is to start with fabrics that you know are stocked year round like your favorite blenders or solids. Check out the ones we stock here.
Tip 4: Choose a simple quilt block.
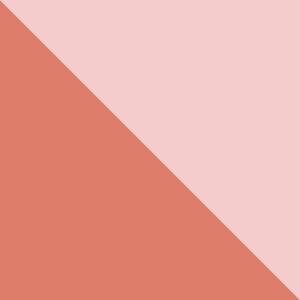
Your temperature quilt block will use two fabrics, one to represent the high temperature for the day and one to represent the low temperature for the day. Some quilt blocks people have used for their temperature quilts are flying geese blocks, nine patches, half-square triangles, hexagons, or a split rail fence block. You could go even simpler with simply stitching two squares or two rectangles together.
You can always play catch up with a marathon sewing session to make a bunch of blocks if needed, but with over 360 blocks to make in a year keeping it simple is a better plan.
Tip 5: Think about your layout early.
A quick layout for a temperature quilt uses twelve rows of thirty one blocks. For the months with fewer than thirty one days, you’ll need to add filler blocks. If you are the planner type, you can pull out some graph paper and figure out a different layout and your finished quilt size. Think about adding sashing between months or changing the direction of the blocks to give it more movement. You can make your temperature quilt as simple or as complicated as you want.
Don’t forget to share your temperature quilt on social media with the hashtag #mayhemmakers so we can check it out.
Mary Ann
December 31, 2019 at 2:17 pmThe IG tag being used so far
is #qmtemperaturequiltalong.
jenny
January 18, 2023 at 1:54 amnice work
Dani
February 1, 2024 at 2:20 amThank you so much for these helpful tips!